7 min read
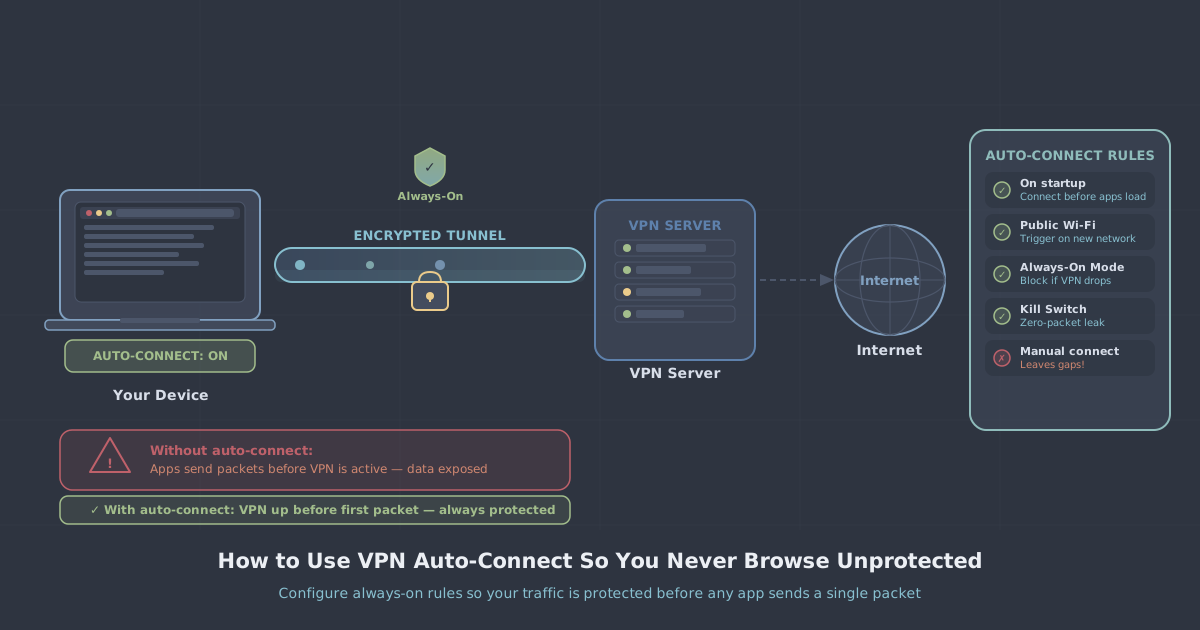
Most people who use a VPN connect it manually—they open the app, tap connect, and get on with their day. The problem is that this depends entirely on remembering to do it. Boot up your laptop in a coffee shop, open Chrome out of habit before the VPN app has even loaded, and your DNS queries and browsing are already leaving your device unprotected. That gap might last ten seconds. It might last ten minutes. Either way, it happened.
Auto-connect and always-on VPN settings exist precisely to close that gap. Configured correctly, your VPN tunnel is established before any other app on your device can make a network request. This guide explains how these features work, what the differences between them are, and how to set them up across your devices.
This is not an exotic configuration for security researchers. It is a sensible baseline for anyone who uses public Wi-Fi, works remotely, or simply wants their VPN to behave like a seatbelt—worn automatically, not only when you remember.
The difference between auto-connect and always-on
These two terms are often used interchangeably, but they describe slightly different behaviours.
- Auto-connect means the VPN client connects automatically when a trigger occurs—typically when your device starts up, when you join a network, or when a specific app opens. If the connection drops, the client attempts to reconnect, but there may be a brief window of unprotected traffic during the interruption.
- Always-on VPN is a stricter mode, available at the operating system level on Android and iOS. It instructs the OS itself to block all network traffic unless it flows through the VPN tunnel. If the VPN drops, the network is blocked entirely rather than falling back to an unprotected connection. This is sometimes combined with a kill switch at the app level to achieve the same result on desktop platforms.
For most users, a well-configured auto-connect combined with a kill switch gives you the practical protection of always-on without the occasional frustration of a completely blocked network during a brief reconnection attempt.
Why the gap matters more than you might think
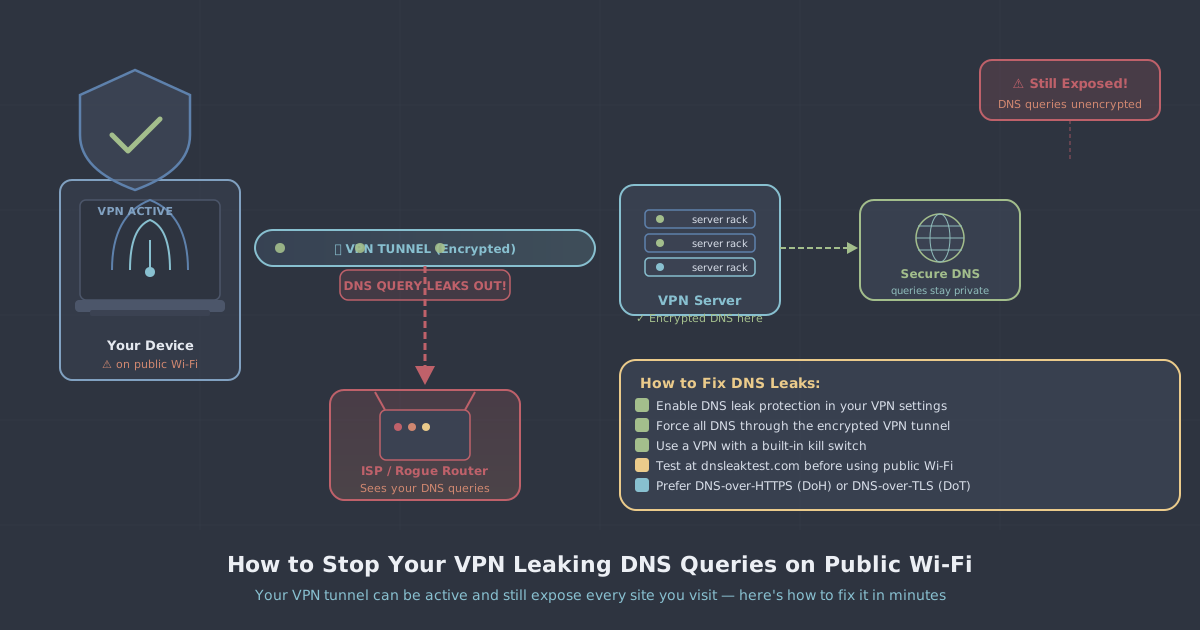
It is easy to dismiss a ten-second unprotected window as inconsequential. In practice, several things happen in those seconds that you do not control. Your operating system may check for updates, sync calendar data, or query DNS. Background apps—email clients, cloud storage, messaging tools—wake up and start communicating. Your browser may restore tabs from your last session and begin loading them.
None of this requires you to actively do anything. It happens automatically, and without a VPN active, all of it travels over whatever network you happen to be on. On a home network with a router you control, this is low risk. On a shared network in a hotel, airport, or co-working space, it is a different matter.
The solution is not vigilance—it is configuration. You set the rules once, and the software enforces them every time.
Setting up auto-connect on Windows
The PremierVPN Windows app includes a launch-on-startup option and an auto-connect setting that triggers as soon as the app loads. To enable both:
- Open the PremierVPN app and go to Settings.
- Under the General tab, enable Launch at startup. This ensures the app starts with Windows, before your browser or any other application opens.
- Enable Auto-connect on launch. The app will connect to your last-used or preferred server immediately after loading.
- Under the Connection tab, enable the Kill switch. This blocks all internet traffic if the VPN tunnel drops unexpectedly, preventing any unprotected packets from escaping while the client reconnects.
With these three settings active—startup launch, auto-connect, and kill switch—your Windows machine will not send unprotected traffic after boot under normal conditions. For a full walkthrough of the app's interface, see the Windows setup guide.
Trusted network rules on Windows
If you work from home on a network you control and prefer not to route that traffic through the VPN, you can configure a trusted network exception. This tells the app to connect automatically on unknown networks but skip the VPN when it detects your home Wi-Fi by SSID. You get protection on public and unfamiliar networks without adding latency on your home connection.
Setting up auto-connect on macOS
The process on macOS is nearly identical. Open the PremierVPN macOS app, navigate to Preferences, and enable Launch at login and Auto-connect. The kill switch is available under Connection settings and works at the network extension level, meaning it operates even if the app itself crashes.
One macOS-specific consideration: if you use the app on a MacBook that moves between networks frequently—home, office, client sites—the trusted network feature is particularly useful. Rather than connecting to the VPN on every network including ones you manage, you can whitelist known networks and let the app decide automatically. See the macOS setup guide for step-by-step configuration.
Always-on VPN on Android
Android has a built-in always-on VPN mode managed by the operating system rather than the app alone. This is more robust than app-level auto-connect because Android itself will refuse to pass traffic if the VPN is not active. Here is how to enable it:
- Install the PremierVPN Android app and sign in.
- Go to your device's Settings > Network & internet > VPN (the exact path varies slightly by Android version and manufacturer).
- Tap the gear icon next to PremierVPN.
- Enable Always-on VPN.
- Enable Block connections without VPN. This is the equivalent of a kill switch at the OS level.
With this configured, Android will not allow any app—including system apps—to communicate over the network without going through the VPN tunnel. If the tunnel drops, traffic is blocked until it reconnects. This is the strictest protection available on mobile.
Always-on VPN on iOS
iOS handles always-on VPN differently depending on whether you are using a consumer device or a managed device enrolled in a Mobile Device Management (MDM) system. For personal iPhones and iPads, you can enable Connect On Demand through the PremierVPN iOS app.
Connect On Demand instructs iOS to establish a VPN connection automatically whenever your device attempts to reach the internet. You can configure it to apply to all networks, or to trigger only on Wi-Fi networks that do not match a list of trusted SSIDs.
- Open the PremierVPN app on your iPhone or iPad.
- Go to Settings within the app.
- Enable Connect On Demand.
- Optionally, add your home network SSID to the exceptions list if you prefer not to route home traffic through the VPN.
Note that iOS may pause the VPN briefly during certain low-power states. This is an OS-level limitation rather than an app behaviour. For the highest assurance on iOS, keep the app in the foreground during sensitive sessions or use a dedicated mobile data connection rather than shared Wi-Fi.
Combining auto-connect with a kill switch—why both matter
Auto-connect handles the startup gap. The kill switch handles everything that happens after—unexpected drops caused by network switching, brief Wi-Fi interruptions, or the client crashing. Together, they cover both failure modes that could expose your traffic.
A kill switch without auto-connect still leaves you vulnerable at startup if you forget to connect. Auto-connect without a kill switch protects you at startup but allows unprotected traffic if the tunnel drops mid-session. Neither alone is as robust as both together.
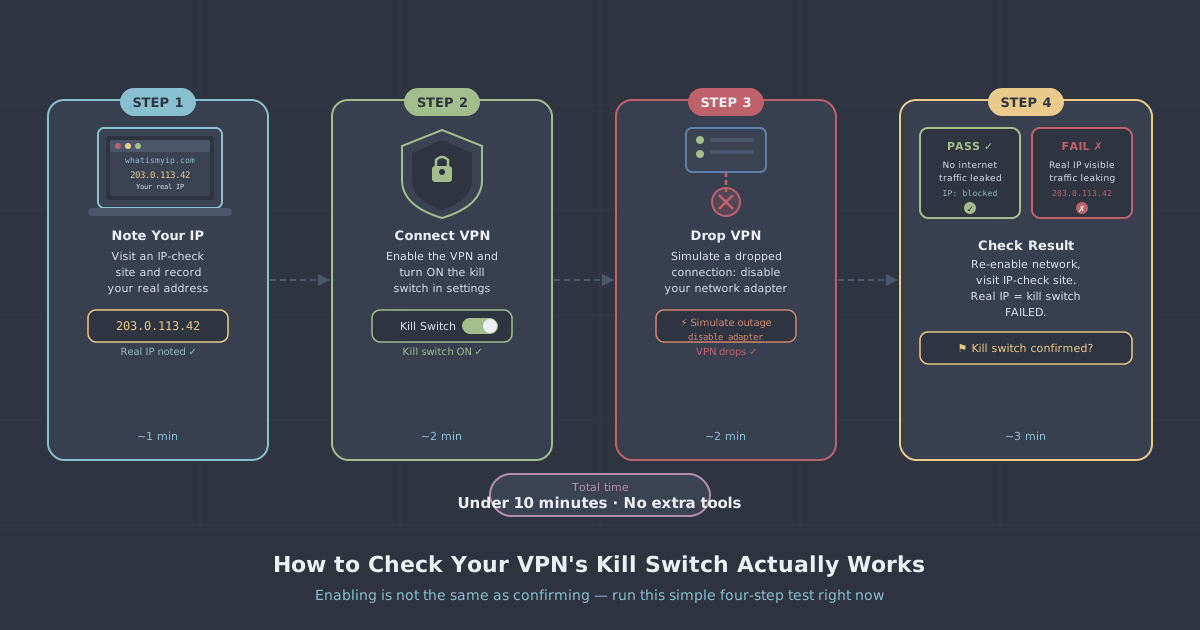
If you are concerned about what a dropped connection actually exposes, the PremierVPN IP leak test lets you verify whether your real IP address or DNS queries are visible to external sites. Run it once with the VPN active and once after deliberately pausing the VPN (without the kill switch) to see the difference concretely.
A note on restrictive networks
Standard auto-connect works well on most networks, but on networks that actively interfere with VPN connections—common in some workplaces, universities, and in countries with aggressive filtering—the VPN may fail to establish a tunnel at all. In those situations, WireGuard Stealth or VLESS+REALITY (available through PremierVPN X for Windows and PremierVPN X for macOS) are designed to make VPN traffic look like ordinary HTTPS traffic, making it significantly harder to block. If auto-connect is failing on a particular network, switching to one of these protocols is the right next step rather than giving up on the VPN entirely.
Practical recommendations
The configuration that works for most people is straightforward:
- Desktop (Windows and macOS): Enable launch at startup, auto-connect on launch, and the kill switch. Add your home network to the trusted list if you want to exclude it.
- Android: Enable always-on VPN and block connections without VPN in the system settings. This is the most complete protection available on mobile.
- iOS: Enable Connect On Demand in the app settings. Accept that brief interruptions are possible, and verify your setup periodically using an IP leak test.
Set these up once and you no longer need to remember to connect. The VPN becomes part of how your device works rather than an extra step you have to take. That is the point—not to add friction to your routine, but to remove a recurring decision that you should not have to make manually every time you open your laptop.